1.取消全局配置 #
git config --global --unset user.name
git config --global --unset user.email
2.建立ssh连接 #
2.1生成ssh #
本地仓库通过ssh的方式和远程github仓库建立连接,生成ssh私钥和公钥。私钥放在本地,公钥复制粘贴在github中,当私钥和公钥配对成功后,就可以从本地向远程仓库推送文件。
当你需要使用多个github账户时,这里以三个为例,假设三个github账户的用户名为id1、id2、id3,3个账户对应的绑定邮箱为E1、E2、E3,因此我们需要生成三对密钥。
注:
建议开始之前,先用任意邮箱,一路
enter生成一对密钥,这样后续方便将下面生成的密钥移入隐藏文件夹.ssh。ssh-keygen -t rsa -C "[email protected]"
ssh-keygen -t rsa -C "E1"

红框内为第一个私钥名称。
ssh-keygen -t rsa -C "E2"

红框内为第二个私钥名称。
ssh-keygen -t rsa -C "E3"

红框内为第三个私钥名称。
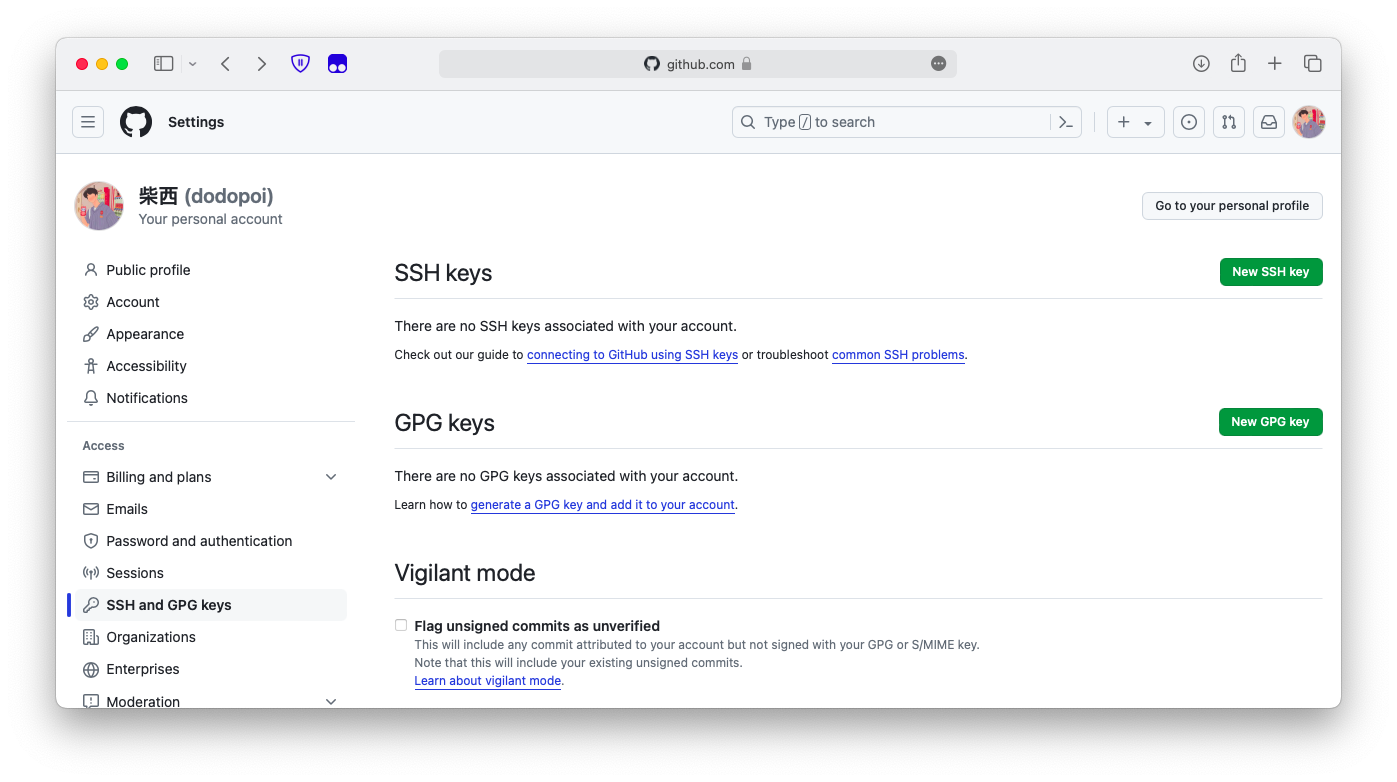
将生成的成对密钥移入.ssh隐藏文件夹内,方便我们管理。分别将三个公钥id_rsa_pub里的内容复制粘贴到对应github账户的New SSH key中。

2.2配置ssh私钥 #
ssh-agent -s

添加私钥
ssh-add ~/.ssh/id_rsa_one

ssh-add ~/.ssh/id_rsa_two

ssh-add ~/.ssh/id_rsa_three
修改config文件
由于在最开始取消了全局配置,这里我们修改配置文件,声明ssh在访问不同github时需要使用哪一个私钥。
在.ssh文件夹里生成config文件。
touch config
打开config文件,将下面内容复制到config文件中。
# 第一个
Host one.github.com # 前缀名可以任意设置,这里用one,two,three······
HostName ssh.github.com
# 用户名1
User ID1
IdentityFile ~/.ssh/id_rsa_one

# 第二个
Host two.github.com
HostName ssh.github.com
# 用户名2
User ID2
IdentityFile ~/.ssh/id_rsa_two

# 第三个
Host three.github.com
HostName ssh.github.com
# 用户名3
User ID3
IdentityFile ~/.ssh/id_rsa_three
测试
ssh -T [email protected]

ssh -T [email protected]

ssh -T [email protected]

3.配置本地项目 #
声明本地仓库的用户名和邮箱地址。
git config user.name ID1
git config user.email E1